diy whipped tallow balm
Alexa Rickenbach6 min read

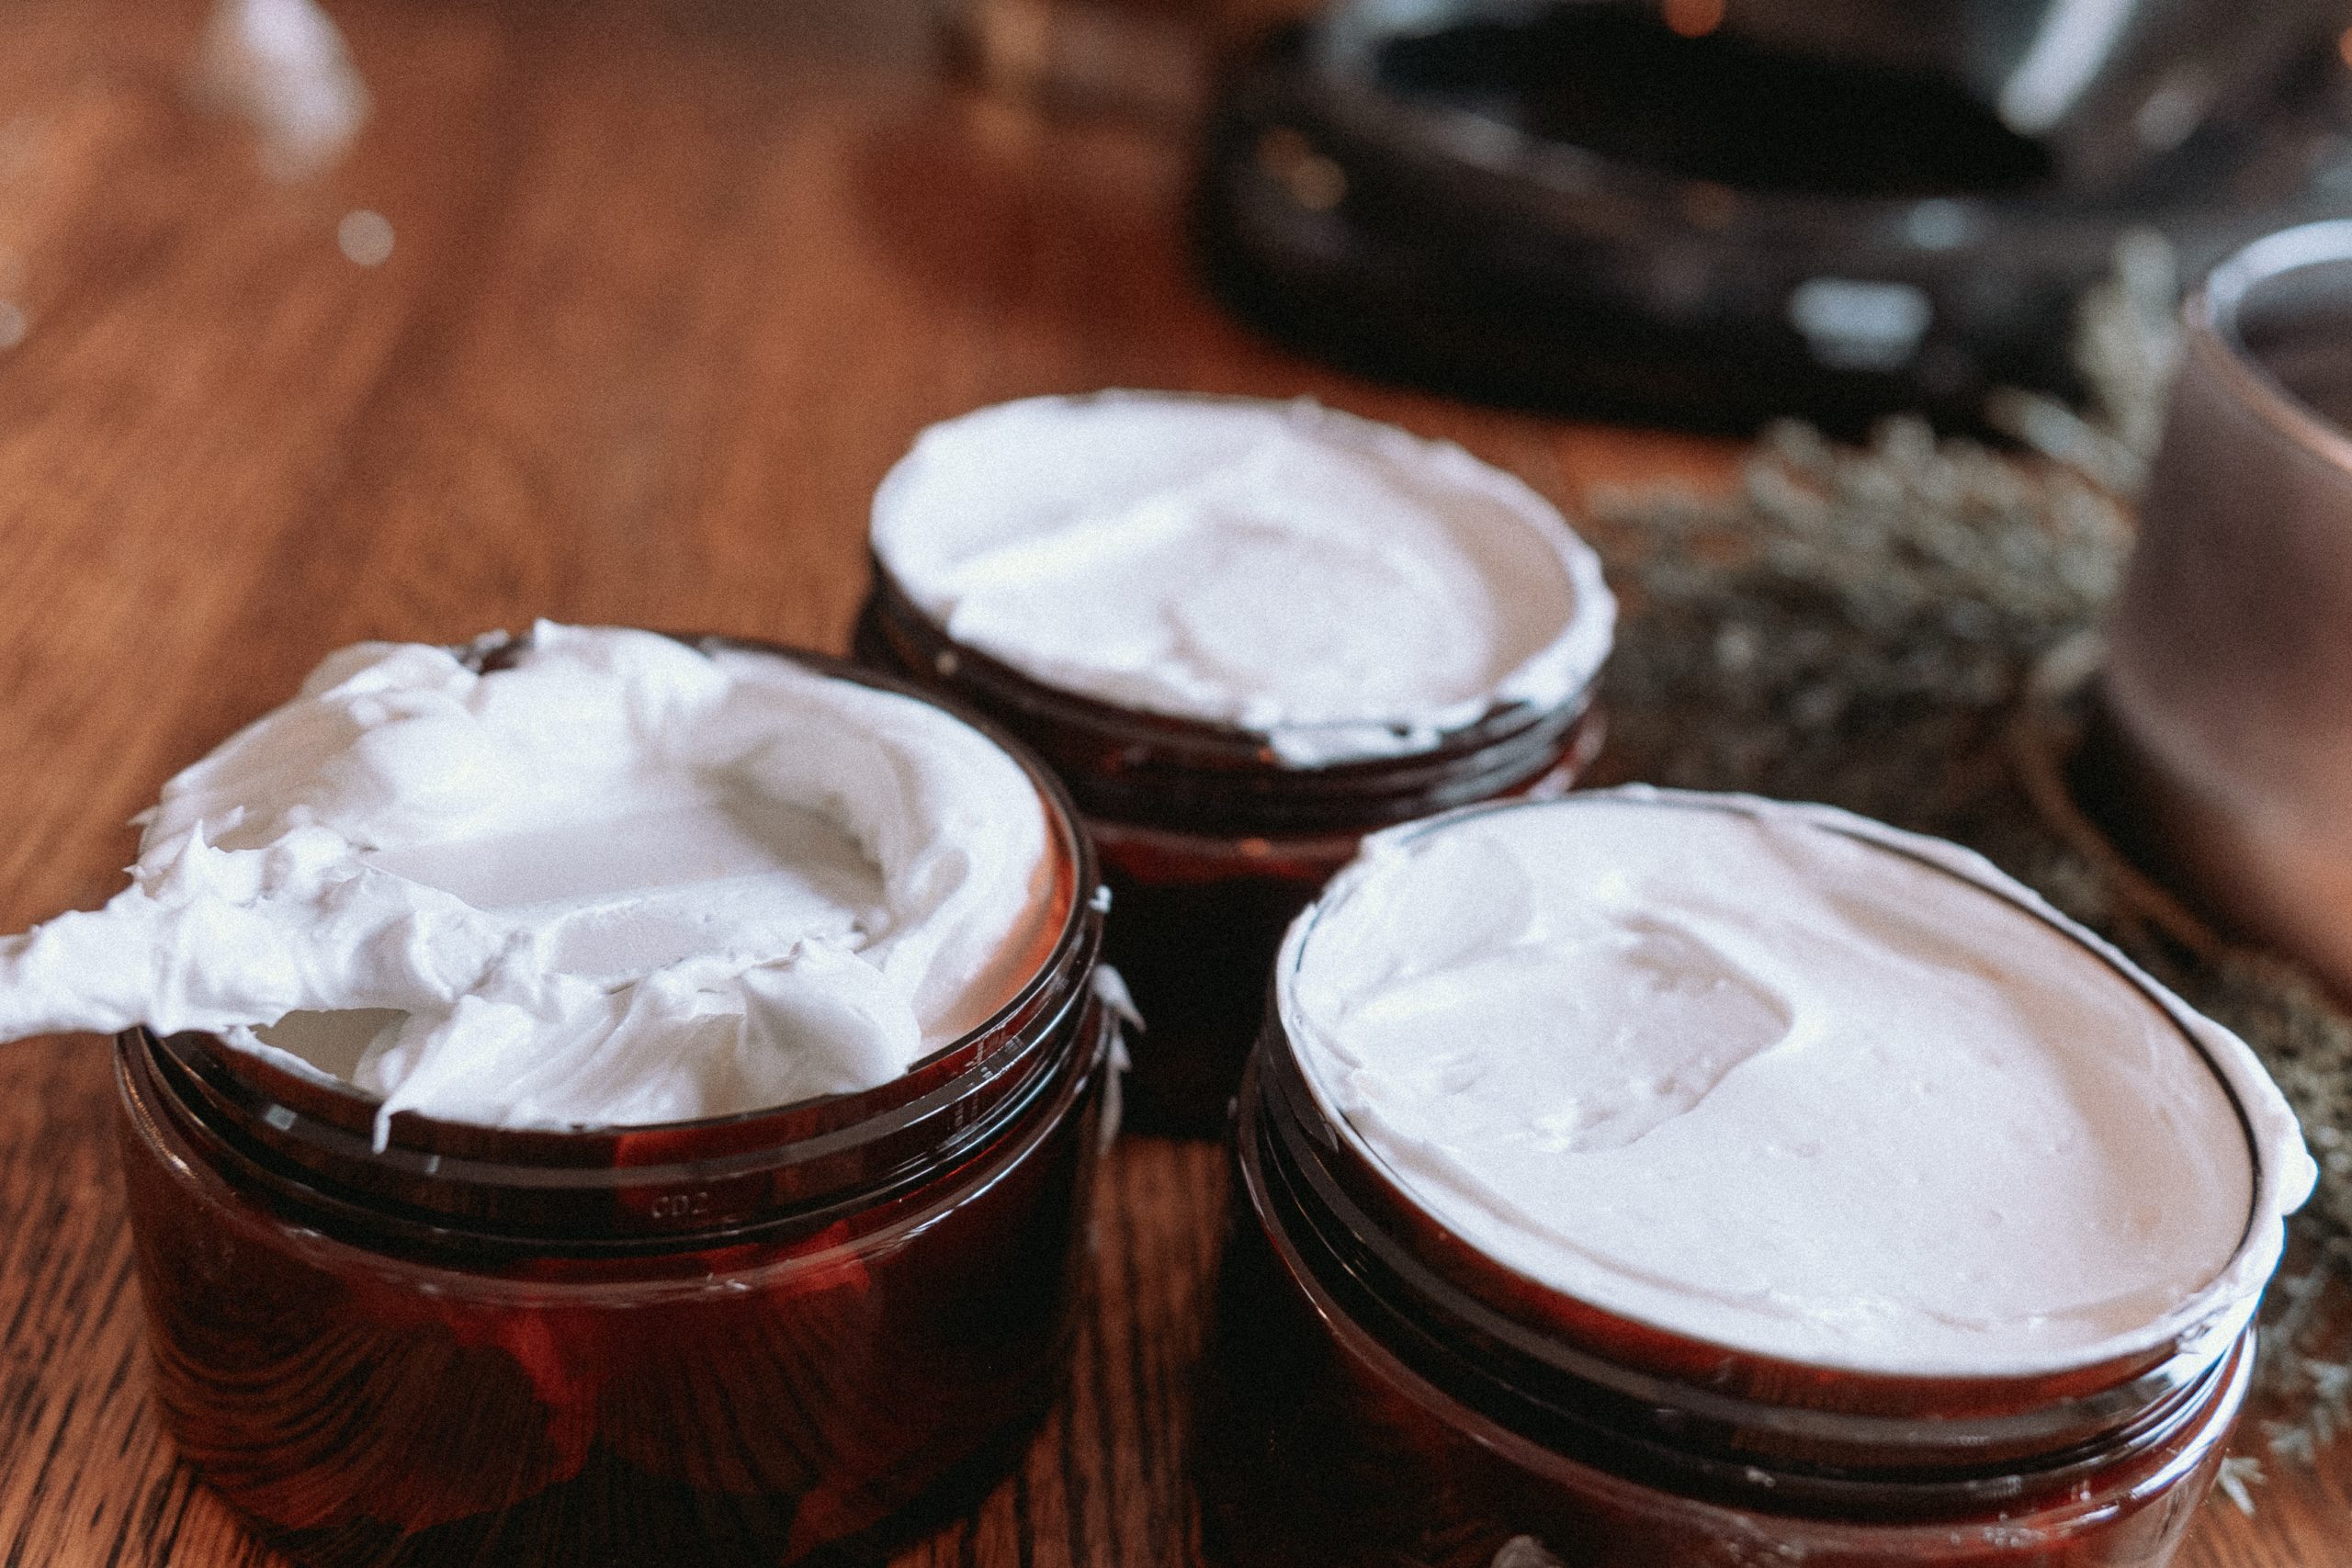
There’s something incredibly satisfying about making your own skincare products. This whipped tallow balm is rich, nourishing, and packed with skin-loving ingredients. It’s a luxurious alternative to store-bought balms, and the best part? You know exactly what’s in it. And it makes an INCREDIBLE gift!
This recipe uses grass-fed and finished beef tallow as the base, whipped with castor oil, Vitamin E oil, and essential oils for a balm that’s perfect for moisturizing and protecting your skin.
If you wanted to make this recipe even more inexpensive, you could purify your own tallow straight from the butcher! You can get it for pretty inexpensive from a local butcher or farmer, and go through the purification & rendering process yourself. For the sake of time, I prefer to buy it already rendered!
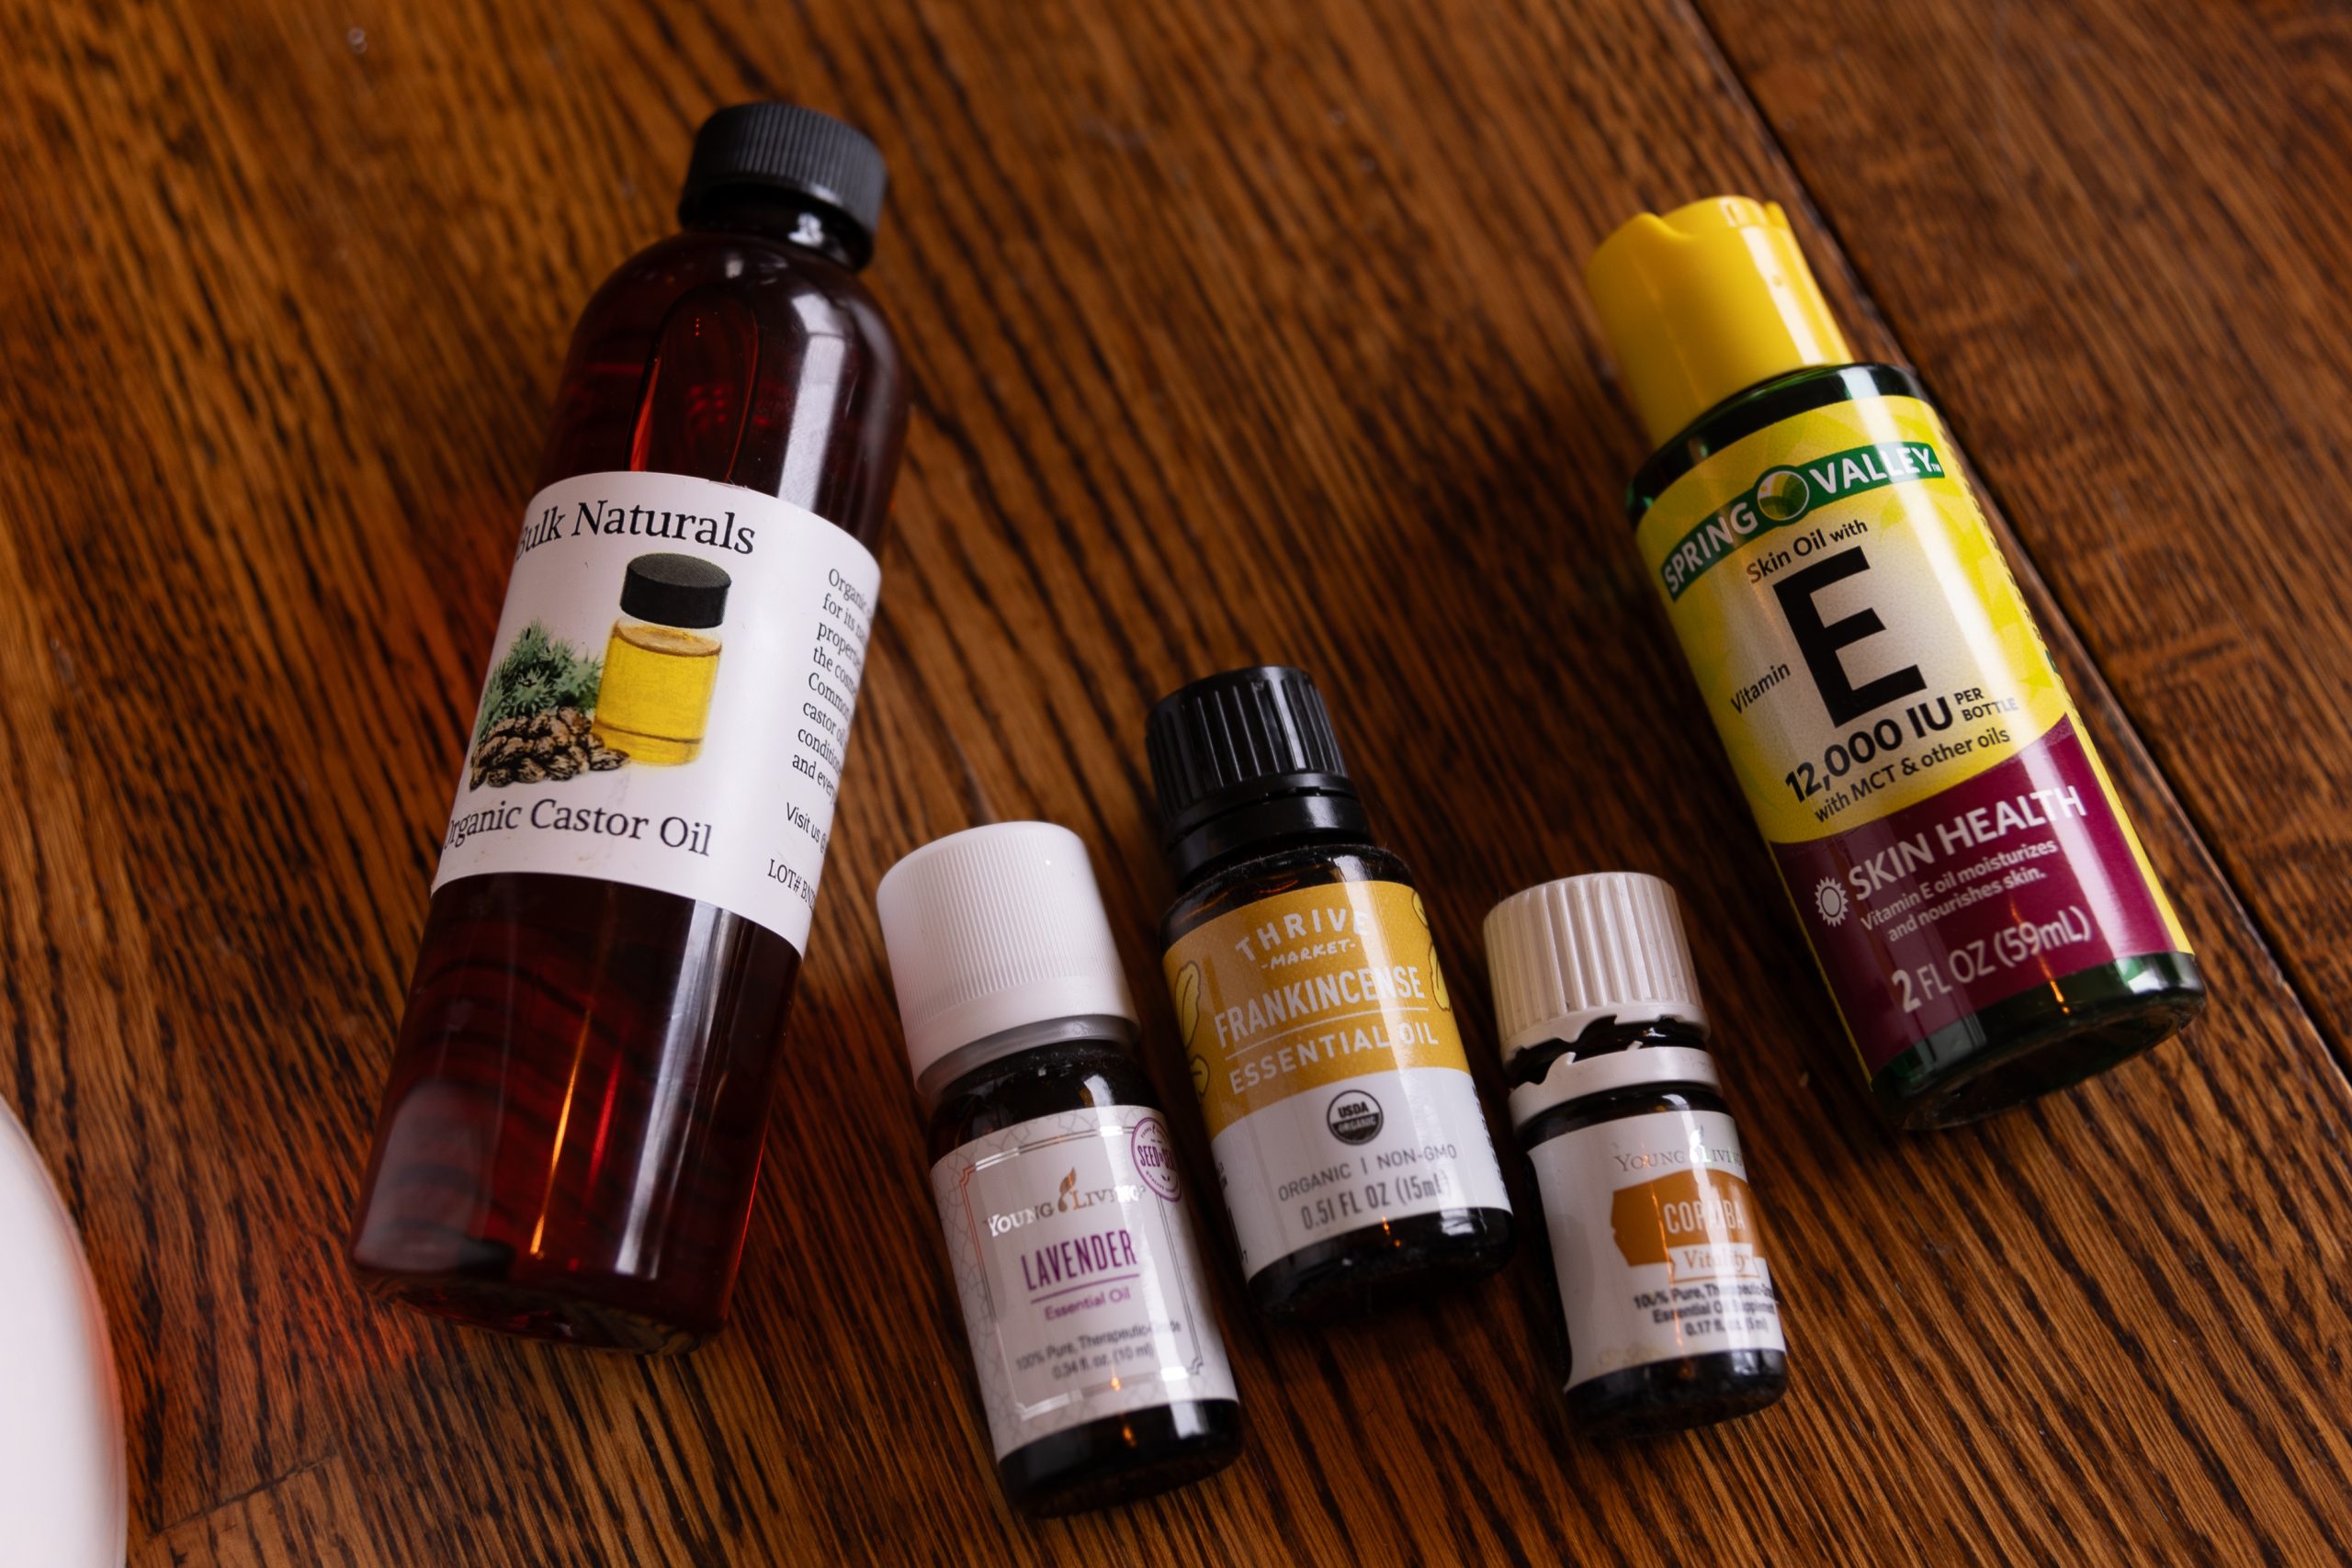
Ingredients (click to shop!)
3 oz castor oil (if you’re making this for your face, I recommend jojoba oil!!)
Tools (click to shop!)
Large bowl
Stand or hand mixer
Spatula
Containers for storage – I used plastic to save a little money & because I liked this shape of jar, but you can use glass jars for a totally non-tox option!
Optional: Label maker
Optional: Ribbon or decoration for gifting
Optional: Scale for weighing out tallow
This recipe makes about 24 ounces of whipped tallow balm, enough to fill three 8-ounce containers.
Step-by-Step Instructions
Combine EverythingIn a mixing bowl, add the castor oil, Vitamin E oil, and tallow. I usually start with the tallow so that I can use a kitchen scale to weight out the 450g.
Add Essential OilsDrop in your essential oils: 30 drops each of frankincense, copaiba, and lavender. You can use any combination of oils you’d like. You can read more about the ones I have chosen below.
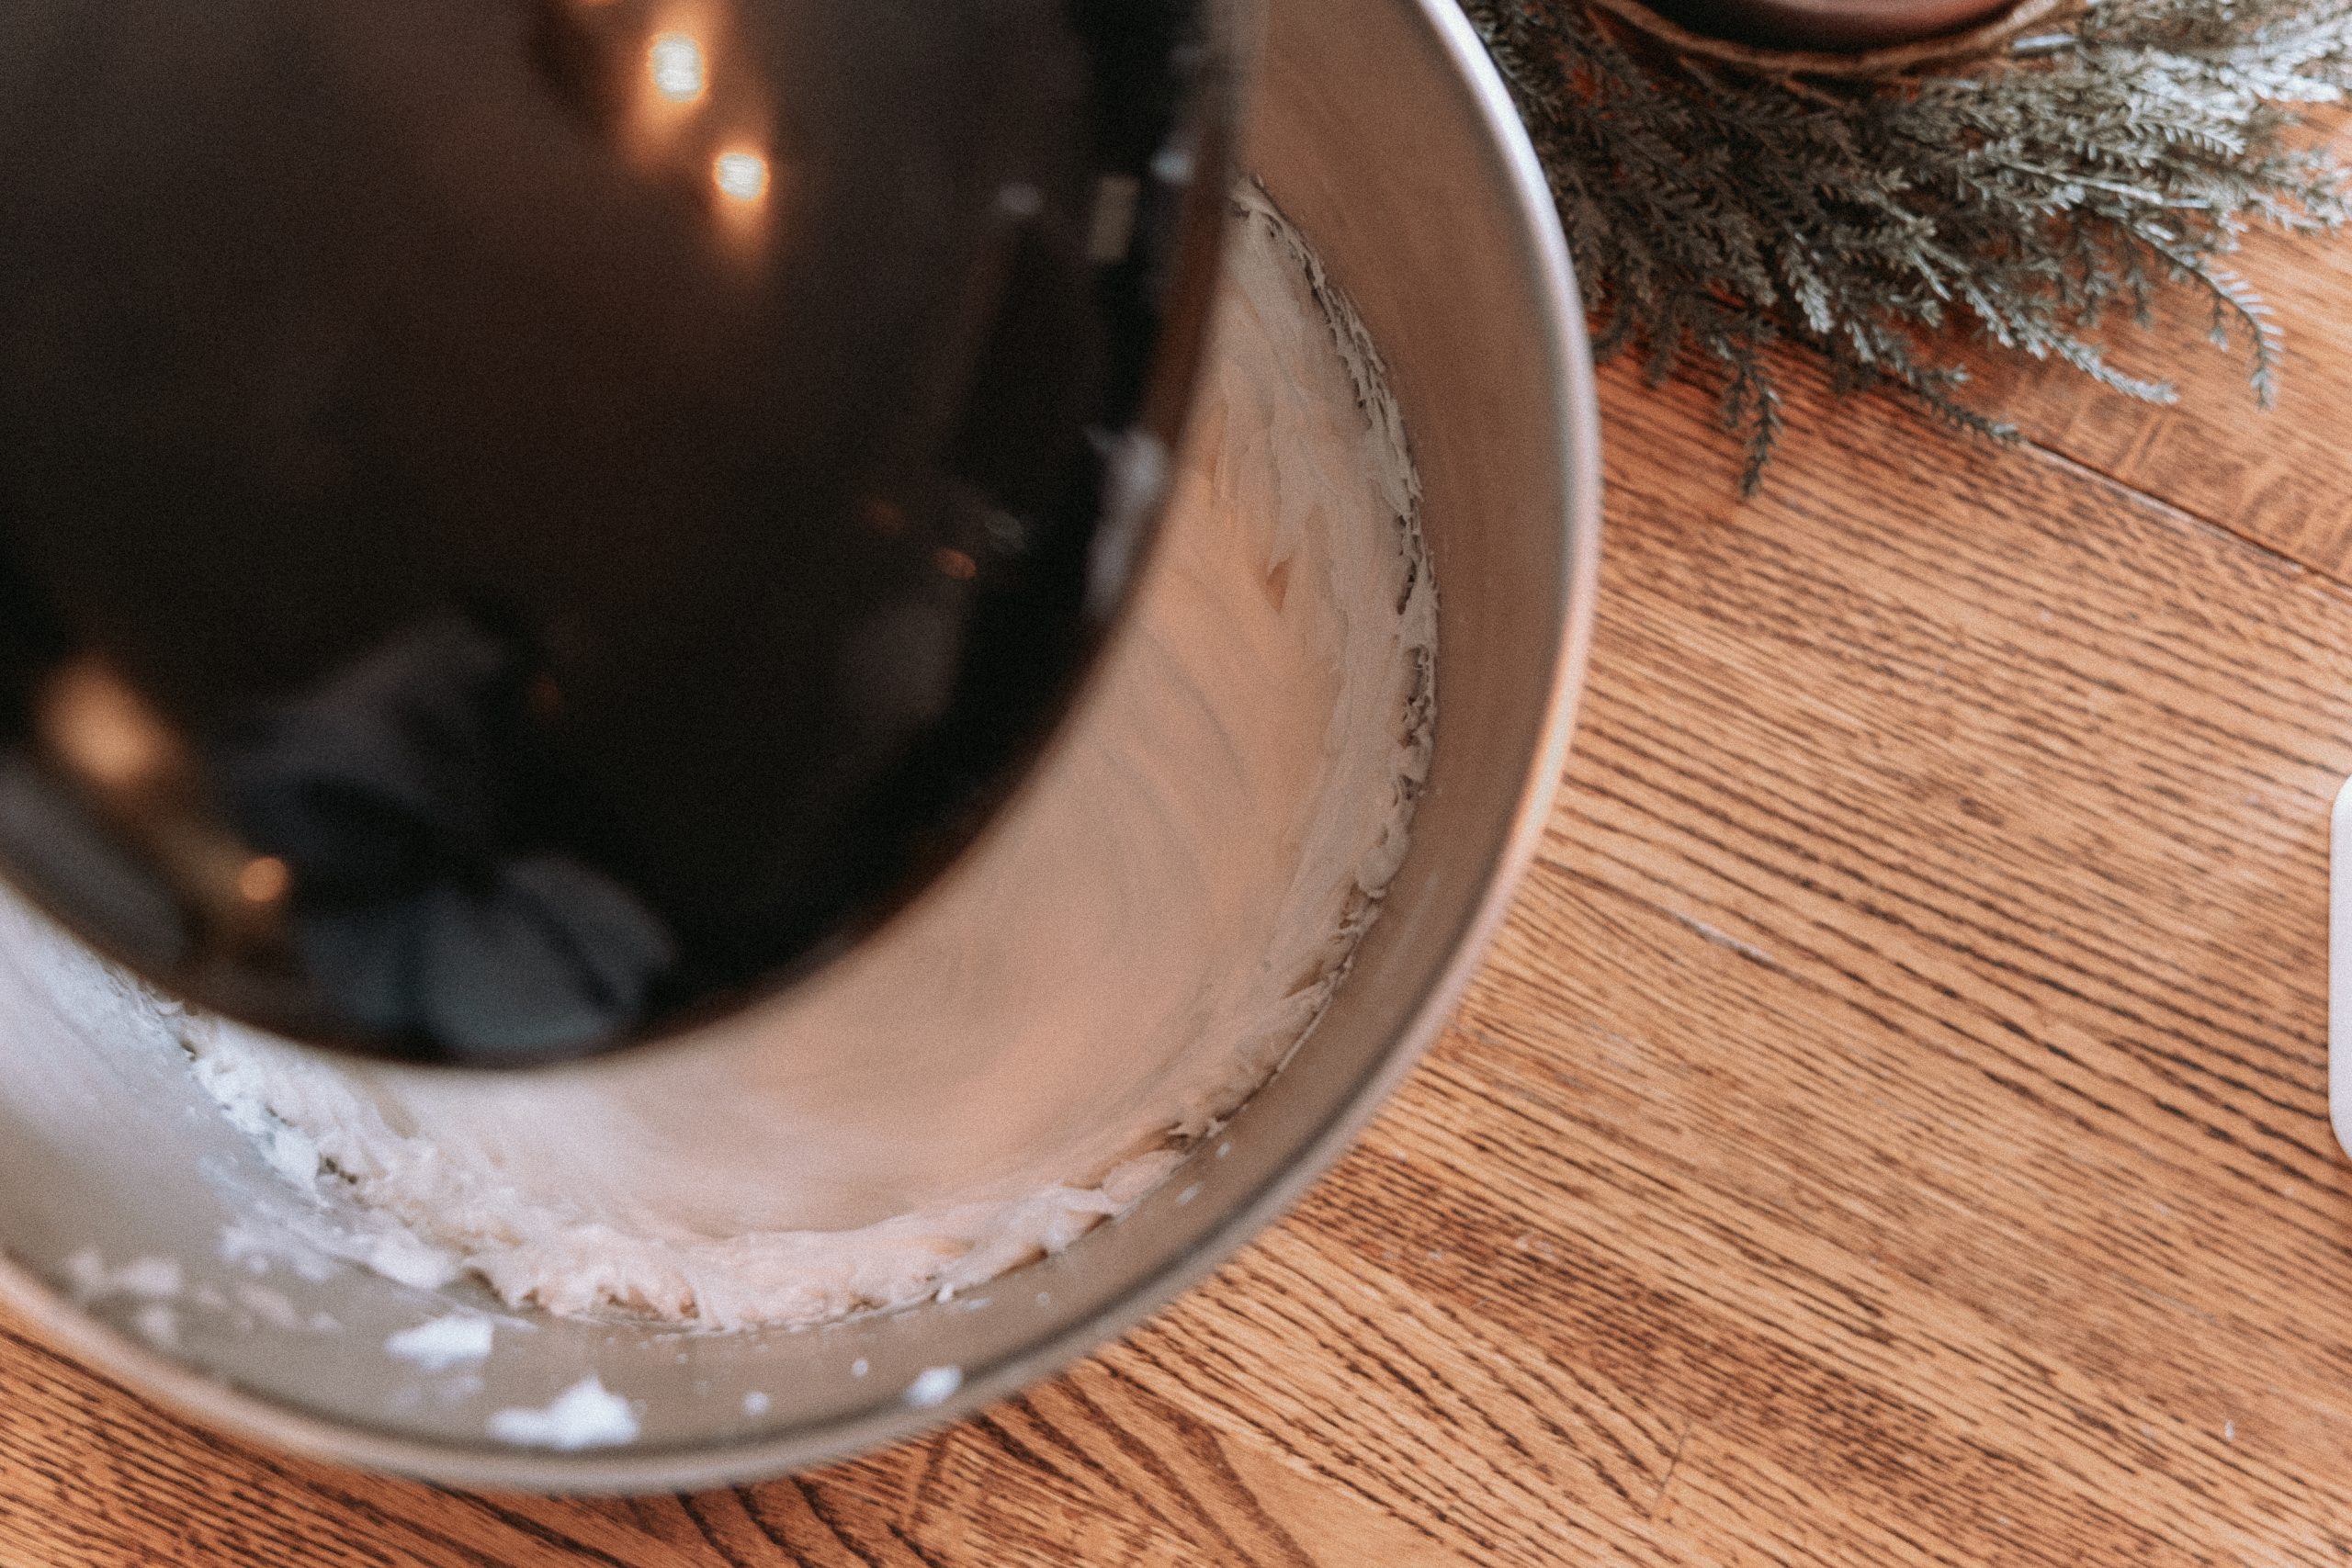
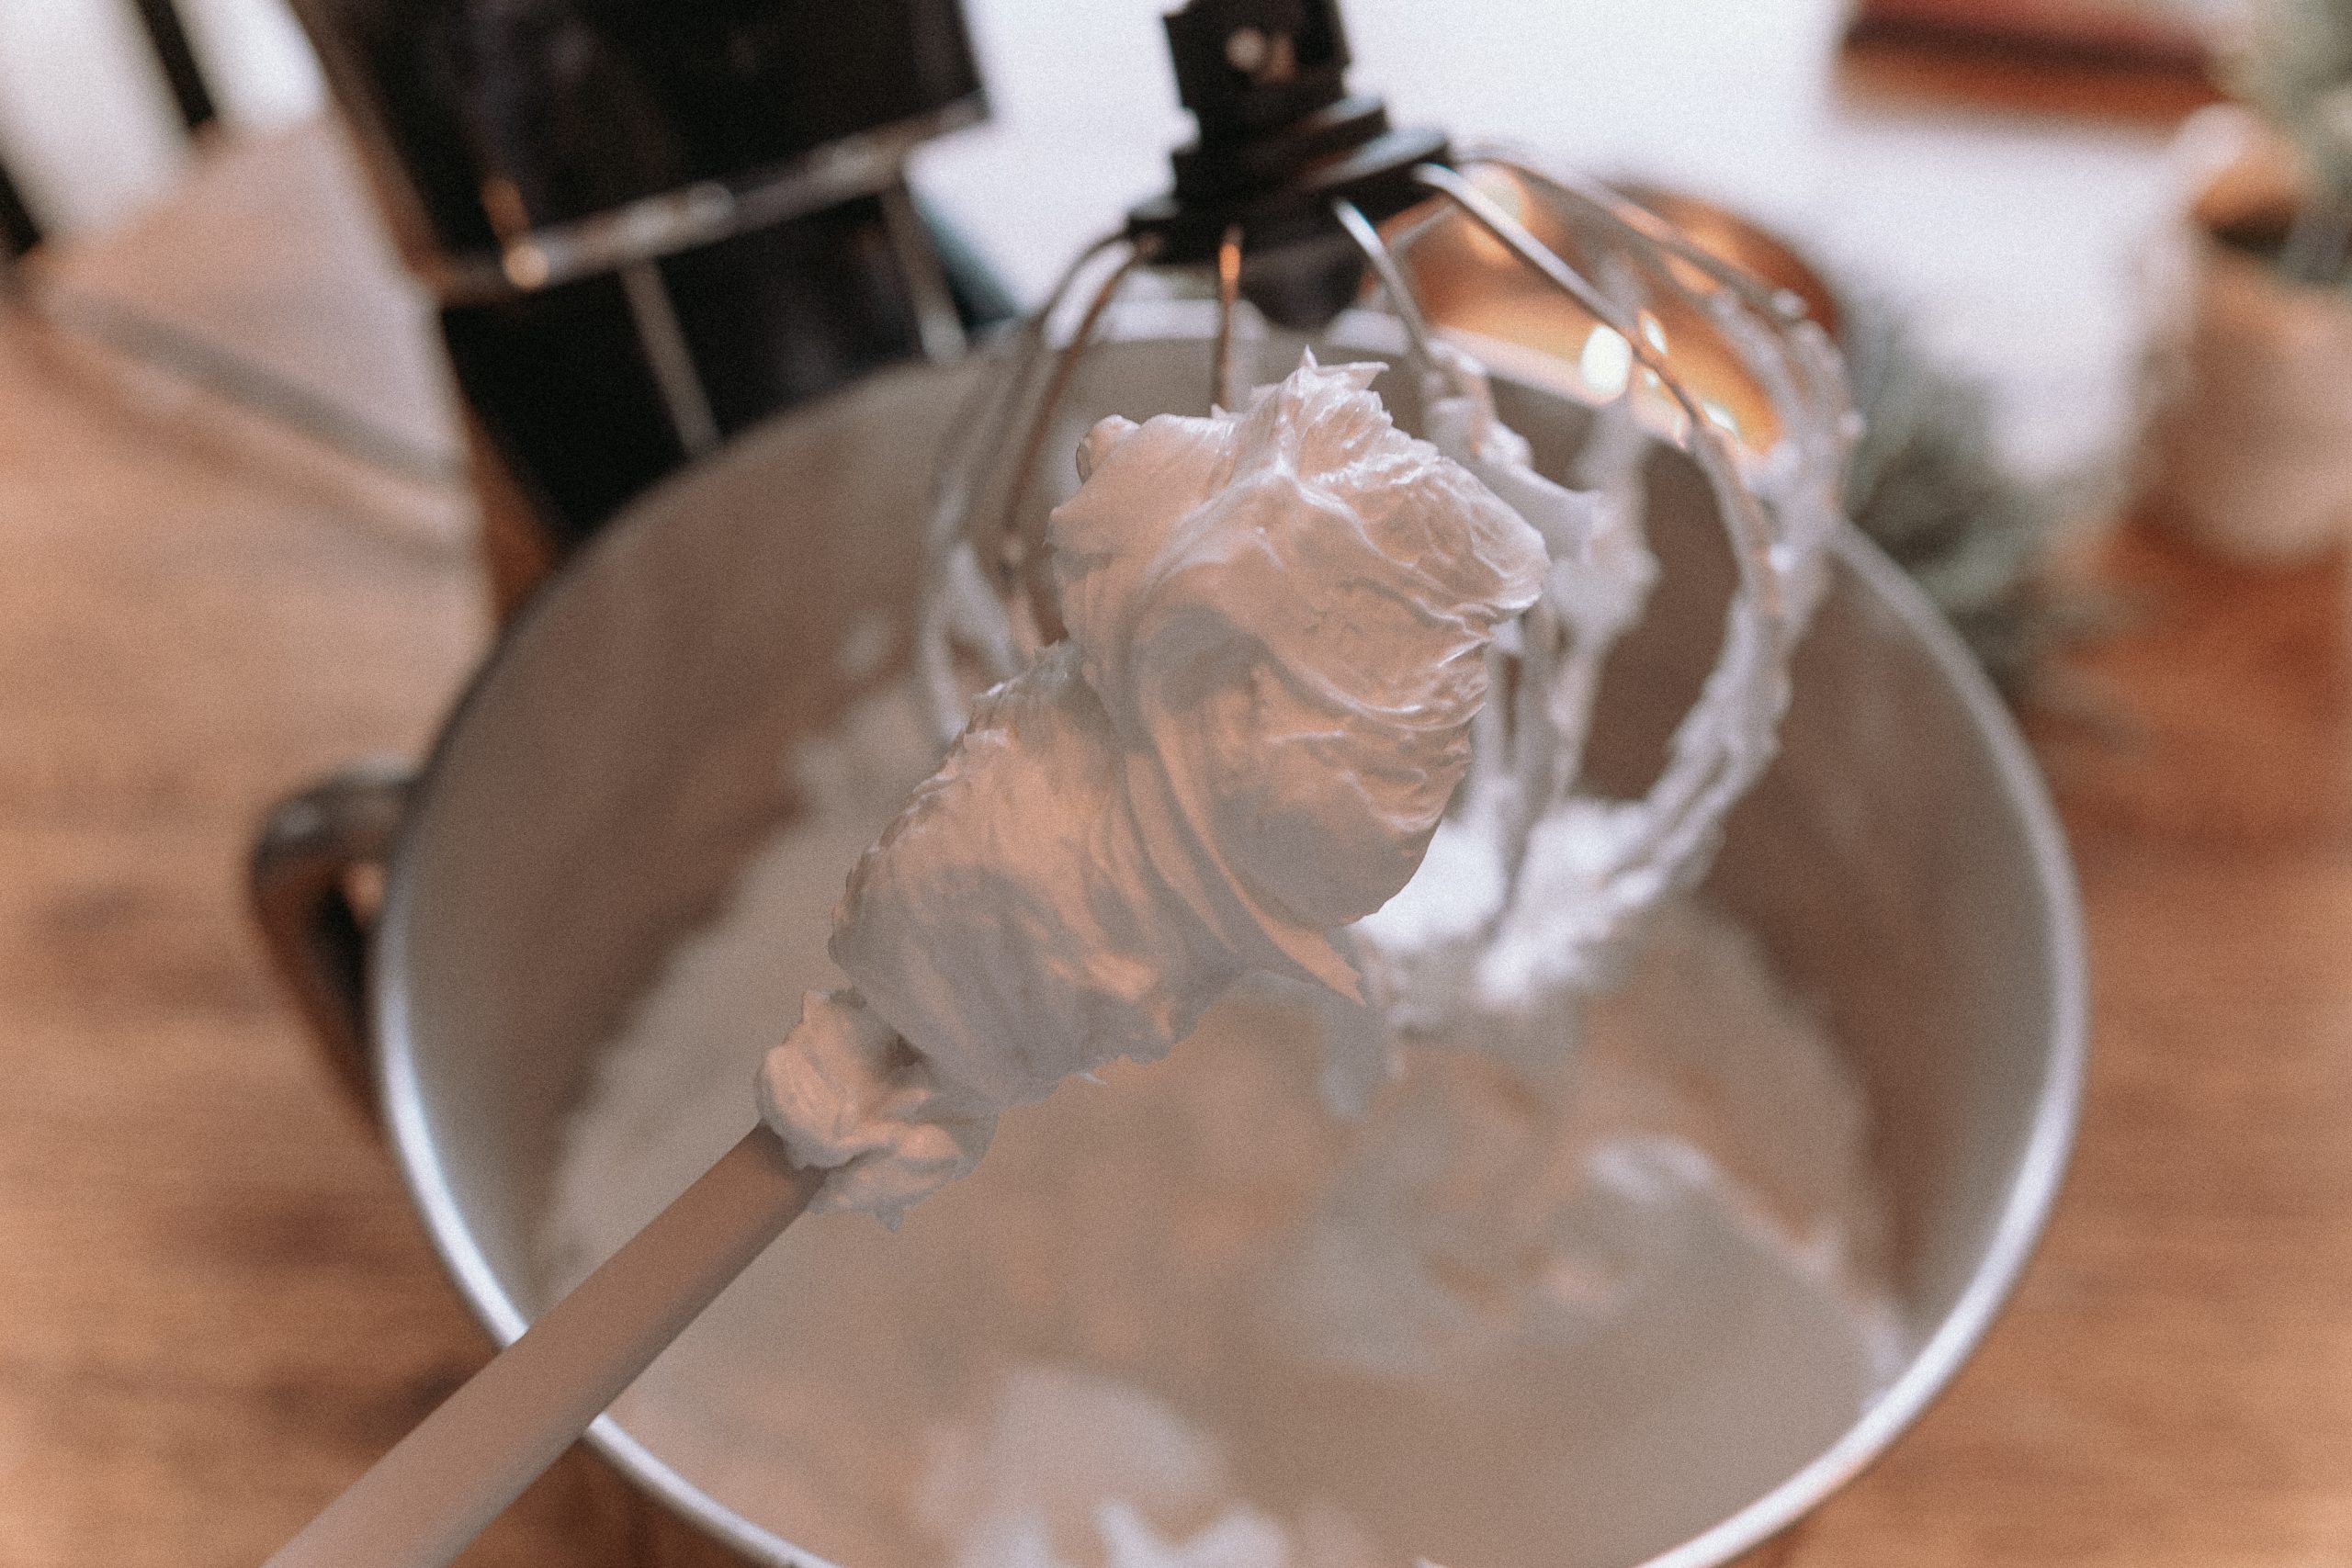
Whip the BalmUse a hand mixer or stand mixer to whip the mixture for 3-5 minutes. The tallow will transform into a fluffy, creamy balm.
Transfer to ContainersScoop or pipe the whipped balm into clean, airtight containers. Let it set at room temperature or refrigerate briefly if you want it to firm up faster.
Essential Oil Choices
You may be wondering why I chose these three oils in particular — here’s a breakdown of the skin benefits in each of them!
Frankincense Essential Oil
Frankincense is often called the “king of oils” for good reason. It’s a powerful oil known for its ability to rejuvenate skin and reduce the appearance of scars, fine lines, and wrinkles. It also promotes an even skin tone and helps soothe irritated or sensitive skin. Its grounding and calming properties make it perfect for a nighttime skincare routine, helping your skin and mind relax.
Copaiba Essential Oil
Copaiba is a gentle yet effective essential oil that supports the skin’s natural healing processes. Rich in beta-caryophyllene, it has anti-inflammatory and soothing properties, making it ideal for calming redness, irritation, and sensitive skin conditions. It’s a great oil for restoring balance to the skin and improving its overall appearance, especially for those dealing with blemishes or uneven texture.
Lavender Essential Oil
Lavender is a classic choice for skincare because of its calming and soothing properties. It helps reduce redness, irritation, and blemishes while promoting skin regeneration. Lavender is also known for its antibacterial qualities, making it a great choice for keeping skin healthy and clean. Plus, its relaxing scent makes it a staple for stress relief, turning your skincare routine into a calming experience.
Cost Breakdown
Here’s how the costs stack up for this recipe using my costs at time of purchase:
Beef Tallow (450g)$55 for 2250g → $11 used in recipe
Castor Oil (2 oz)$9 for 4 oz → $4.50 used in recipe
Vitamin E Oil (2 oz)$6 for 4 oz → $3 used in recipe
Frankincense Essential Oil (30 drops)$12 → $1.20 used in recipe
Copaiba Essential Oil (30 drops)$11 → $1.65 used in recipe
Lavender Essential Oil (30 drops)$10 → $0.50 used in recipe
Total Cost for Ingredients
$21.85
Cost Per 8 oz Jar
$21.85 ÷ 3 jars = $7.28 per jar
Why Make Your Own Tallow Balm?
Natural Ingredients: You have complete control over what goes into your balm. No mystery ingredients or hidden chemicals.
Cost-Effective: Store-bought tallow balms can cost upwards of $30 for an 8-ounce jar. Making it yourself saves you more than 75%!
Customizable: Adjust the essential oils to suit your preferences or skin type.
How Long Does It Stay Shelf-Stable?
The whipped tallow balm has a long shelf life, typically 6 to 12 months, thanks to the stability of its ingredients. Here’s why:
Beef Tallow: Grass-fed beef tallow is a highly stable fat, especially when stored in a cool, dry place. It resists oxidation and won’t spoil easily.
Castor Oil and Vitamin E Oil: Both oils are naturally long-lasting. Vitamin E oil also acts as a natural preservative, helping to extend the shelf life of the balm.
Essential Oils: While essential oils don’t spoil, their potency may diminish over time. However, this doesn’t affect the overall usability of the balm.
Tips for Prolonging Shelf Life
Store Properly: Keep the balm in an airtight container, away from direct sunlight or heat.
Avoid Contamination: Always use clean, dry hands or a spatula to scoop out the balm.
If you notice any changes in smell, texture, or color, it’s best to discard it, but with proper storage, this balm will stay fresh for at least a year.
Customizations
One thing about this recipe is it’s so customizable to your preference. I like this recipe as is for a daily moisturizer, but sometimes I like it a little more deeply moisturizing. If your tallow balm doesn’t feel as moisturizing as you’d like, you can adjust the recipe to include more hydrating and emollient ingredients. Here are a few tweaks to enhance the balm’s moisturizing properties:
Increase the Castor Oil – Castor oil is deeply hydrating and helps lock moisture into the skin. Try increasing it from 2 oz to 3 oz, but be mindful that castor oil can feel heavier and stickier if overused.
Add a Soft Oil – Incorporate a lighter, more moisturizing oil to balance the texture and add hydration. Start by replacing 1 oz of tallow with 1 oz of your chosen oil. Good options include: Sweet Almond Oil (lightweight and nourishing), Jojoba Oil (closely mimics the skin’s natural oils, making it ideal for all skin types), and Avocado Oil (rich in vitamins and deeply moisturizing).
Add Shea Butter or Cocoa Butter – These butters are incredibly hydrating and add a luxurious feel to the balm. Substitute 1-2 oz of tallow with shea or cocoa butter for extra richness.
Incorporate Glycerin – Vegetable glycerin is a humectant, meaning it draws moisture into the skin. Add 1 tsp to the balm during the whipping process. Note: Too much glycerin can make the balm feel tacky.
Reduce Tallow Slightly – Tallow can feel a bit dry on its own because it’s highly saturated. Reducing the tallow slightly and replacing it with a more emollient oil or butter can improve the balm’s overall feel.
Switch Essential Oils – Some essential oils are more hydrating and soothing. Consider adding a few drops of Geranium Essential Oil (balances skin’s moisture) or Helichrysum Essential Oil (deeply nourishing and supports skin repair).
Try one or more of these adjustments to customize the balm to your liking! Let me know how it turns out.
This whipped tallow balm is not only economical but also a luxurious treat for your skin. Whether you’re using it for dry patches, as a nighttime moisturizer, or to soothe irritation, it’s a versatile addition to your skincare routine.
Have you tried making your own tallow balm before? Let me know how it turned out in the comments!