diy beeswax & coconut oil candles
A homemade candle gift for Christmas, a hostess, or a simple thank-you.
Alexa Rickenbach6 min read


There’s nothing quite like the warmth and ambiance of a candle flickering on a chilly evening. But as I’ve become more intentional about what I bring into my home, I’ve realized how many store-bought candles are filled with questionable ingredients. Many are made with paraffin wax (a petroleum by-product) and synthetic fragrances that can release harmful chemicals into the air. Clean-burning candles are a healthier alternative, but let’s be honest—they can also cost a small fortune!
I wanted to find a way to enjoy the coziness of burning candles without breaking the bank or sacrificing quality. So, I decided to make my own! And let me tell you, the crackling sound of a wood wick is the cherry on top—it’s like having a mini fireplace in a jar.
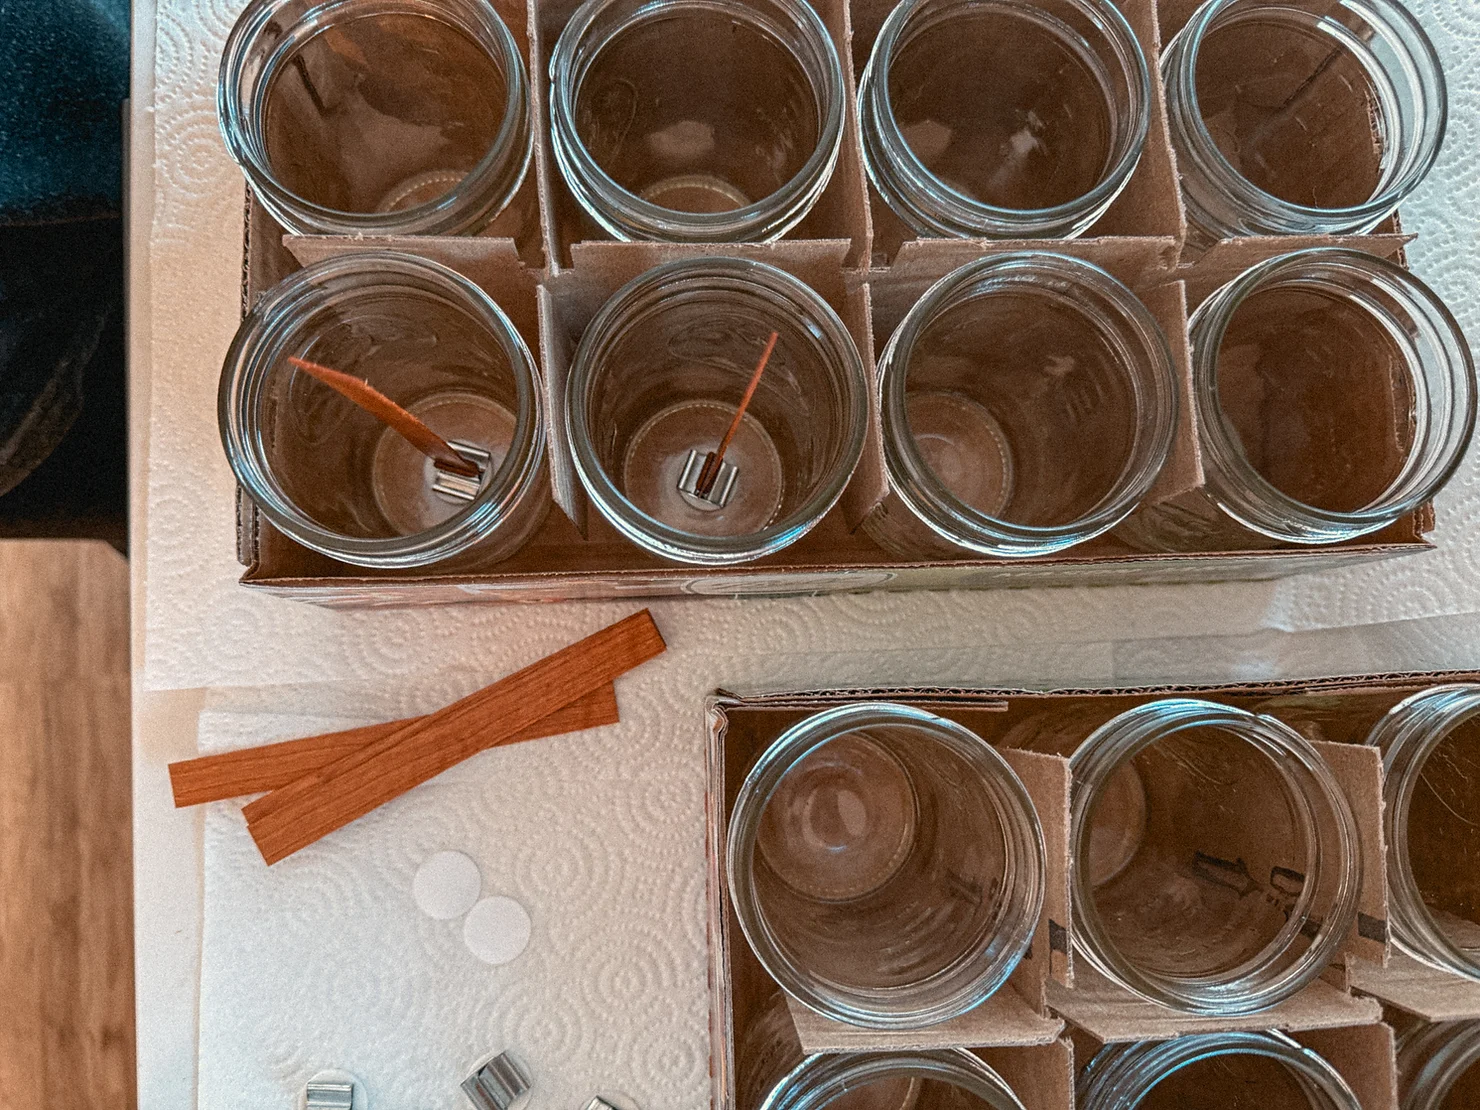
What You’ll Need
To get started, here’s everything you’ll need to make these DIY clean-burning candles:
Ingredients (tap to shop)
Beeswax: A natural wax that’s lightly scented with a hint of honey and burns cleanly.
Coconut Oil: Helps the candle burn more evenly and prevents tunneling.
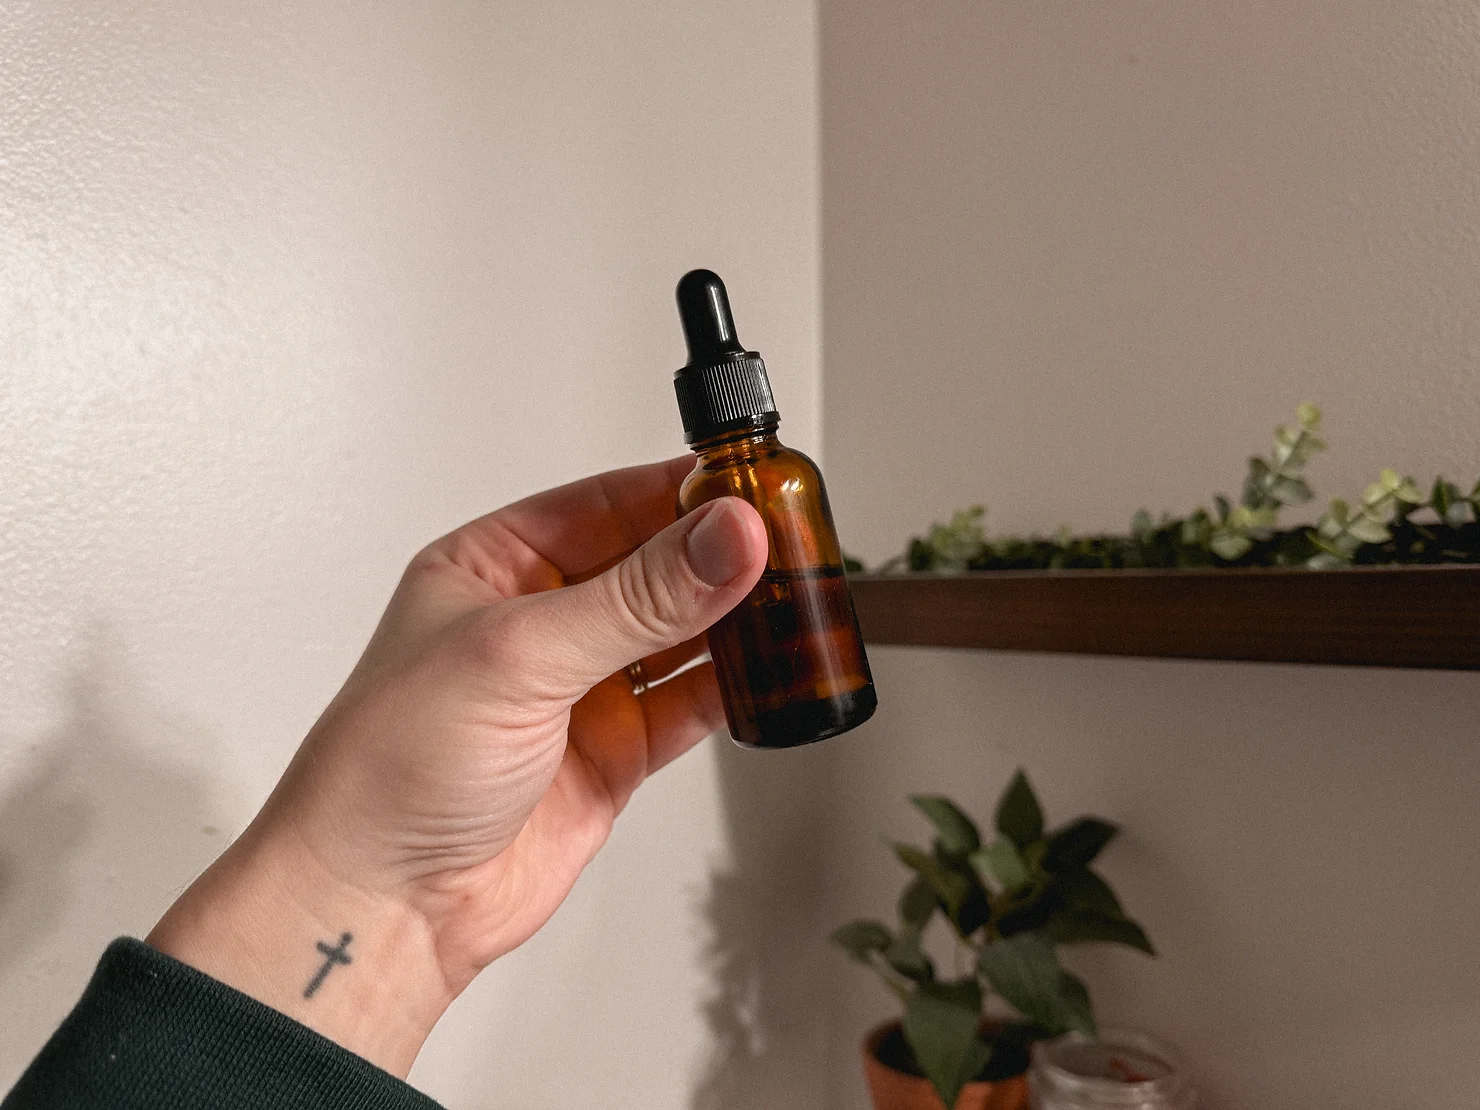
Essential Oils: Add your favorite scents for a personal touch (optional).
Supplies (tap to shop)
Mason Jars (or any heat-safe containers): 8 oz jars work perfectly for this recipe.
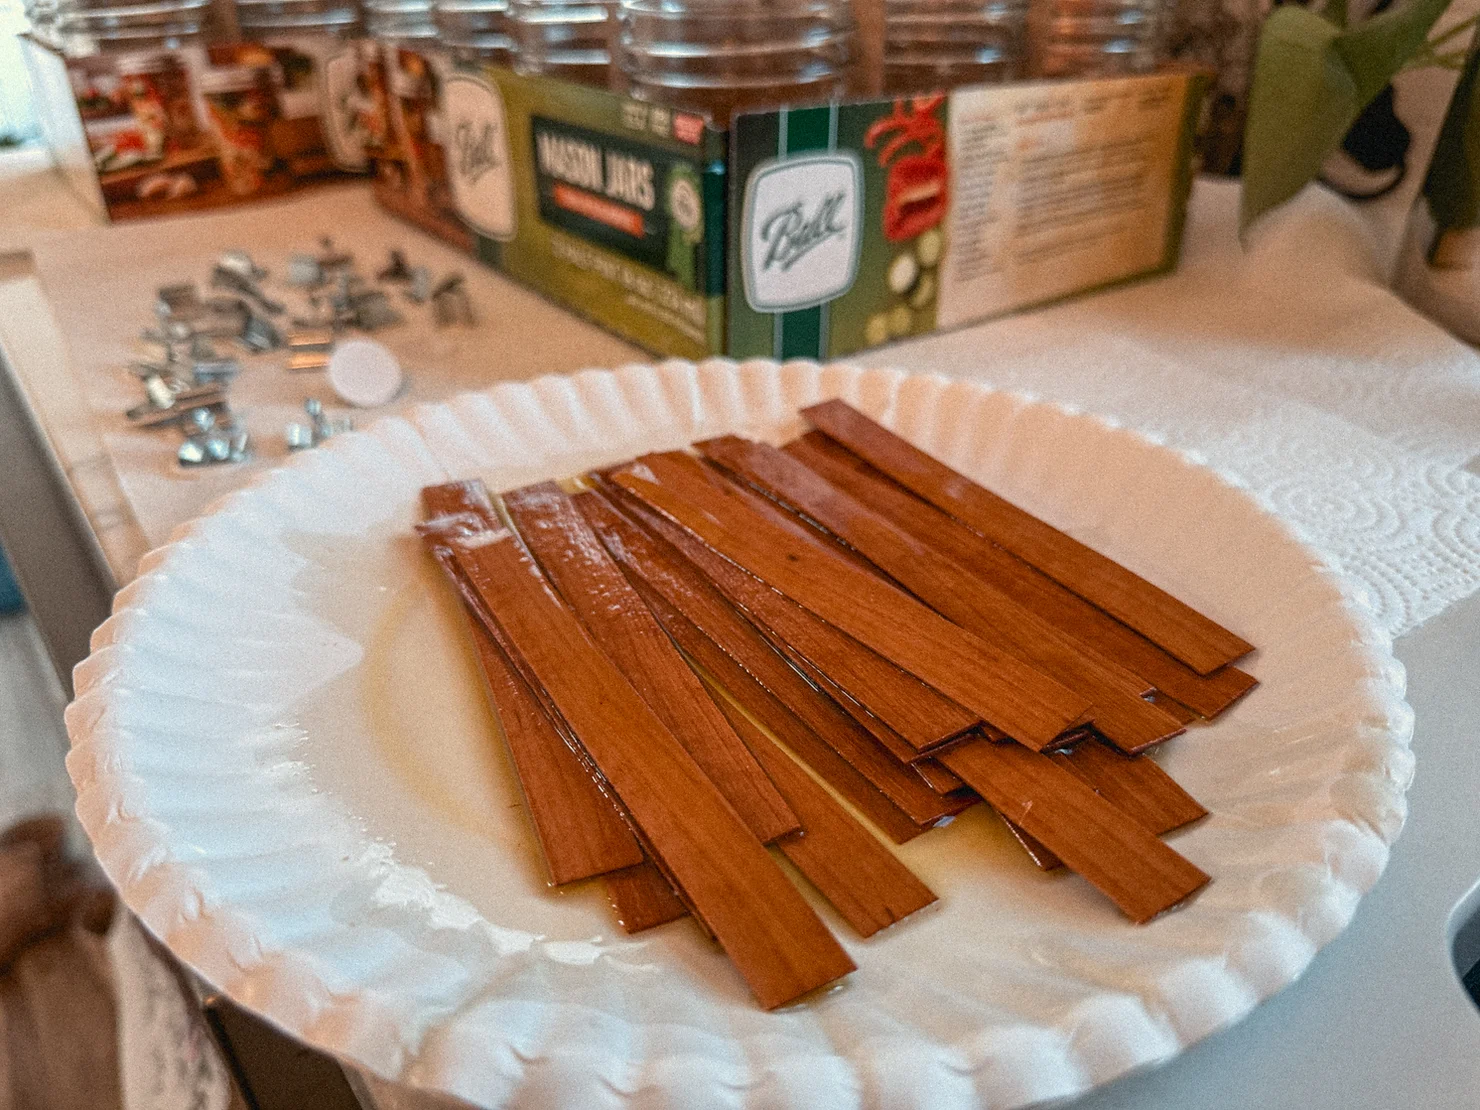
Wood Wicks: For a cozy crackling effect (wax wicks work too—see the customization section below). *you guys sold out the wood wicks I recommended! Here’s another wood wick suggestion!
Double Boiler or Metal Heating Container: To melt the wax & mix in the oils
Thermometer: Optional but helpful to ensure the wax is at the perfect pouring temperature.
THIS cool little set comes with a metal heating container & base, wicks, a mixing spoon, and thermometer for under $30!
The Recipe
This recipe makes a total of 4 6-0z candles, but you can scale the recipe up or down depending on how many you’d like to make! We did a big batch of 24 candles and just did 6 rounds of melting & pouring, and it worked great! Once you get into a rhythm with it, it’s super simple and goes very quickly!
Ingredients Needed:
tap to shop!
16 oz Beeswax
1-2 oz Coconut Oil: (we have used fractionated and regular! It may be best to use regular organic coconut oil if you notice tunneling or 'caving in. You can also reduce the amount you put in.)
80-100 Drops Essential Oils – I love REVIVE (affiliate link, use my code GATHERED10 to save!) and Simply Earth (affiliate link, use my code GHK10 to save!). They’re both incredible companies that are super high quality and reasonably priced. I purchase from them both regularly!
*Depending on your climate, jar temp & pouring temperature, your candles may sink in the middle after cooling. You can avoid this by lowering the amount of fractionated oil to 3-4oz.
Instructions:
Prepare Your Jars and Wicks: Place the wood wicks inside each jar. If they’re not standing upright, you can use a clothespin to hold it in place! Most wood wicks need to be soaked in oil for about 30 minutes before use! This helps keep them from breaking and drying up. It also helps minimize charring and helps the candle burn more evenly.
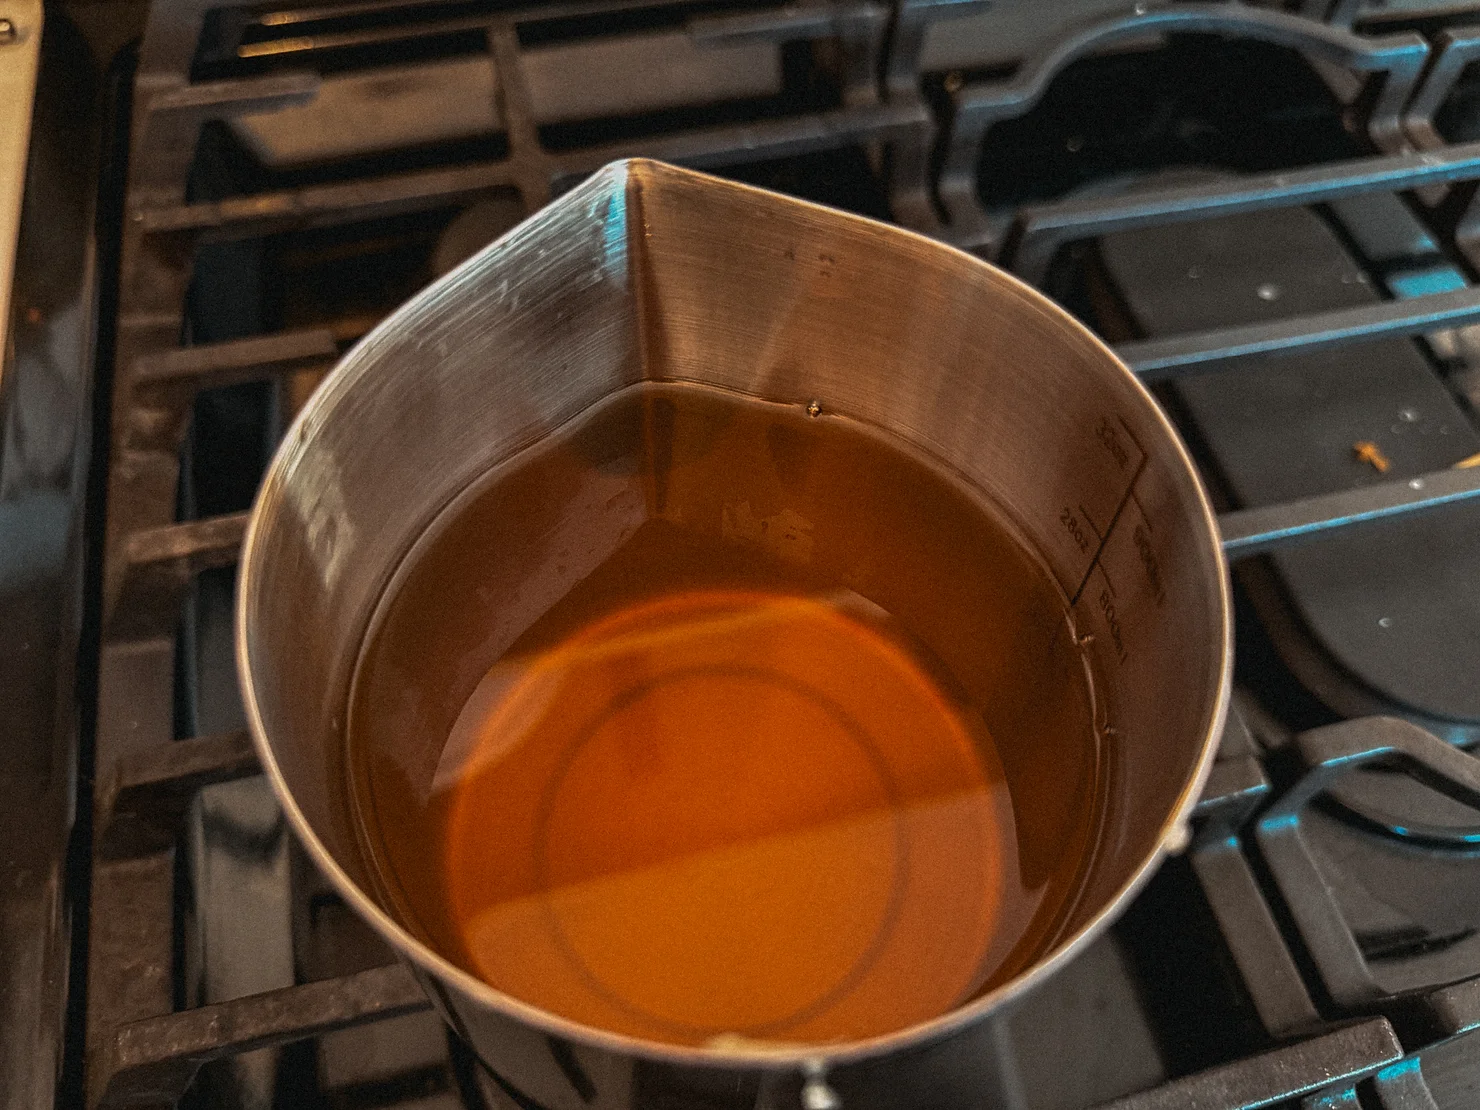
Melt the Wax: Using a double boiler or metal melting pot, melt the beeswax completely. Stir occasionally to ensure it melts evenly.
Add Coconut Oil: Once the beeswax is fully melted, add the coconut oil and stir until the mixture is well combined.
Cool and Add Essential Oils: Remove the wax mixture from heat and allow it to cool slightly (to about 130°F) before adding the essential oils. Stir thoroughly to distribute the fragrance evenly.
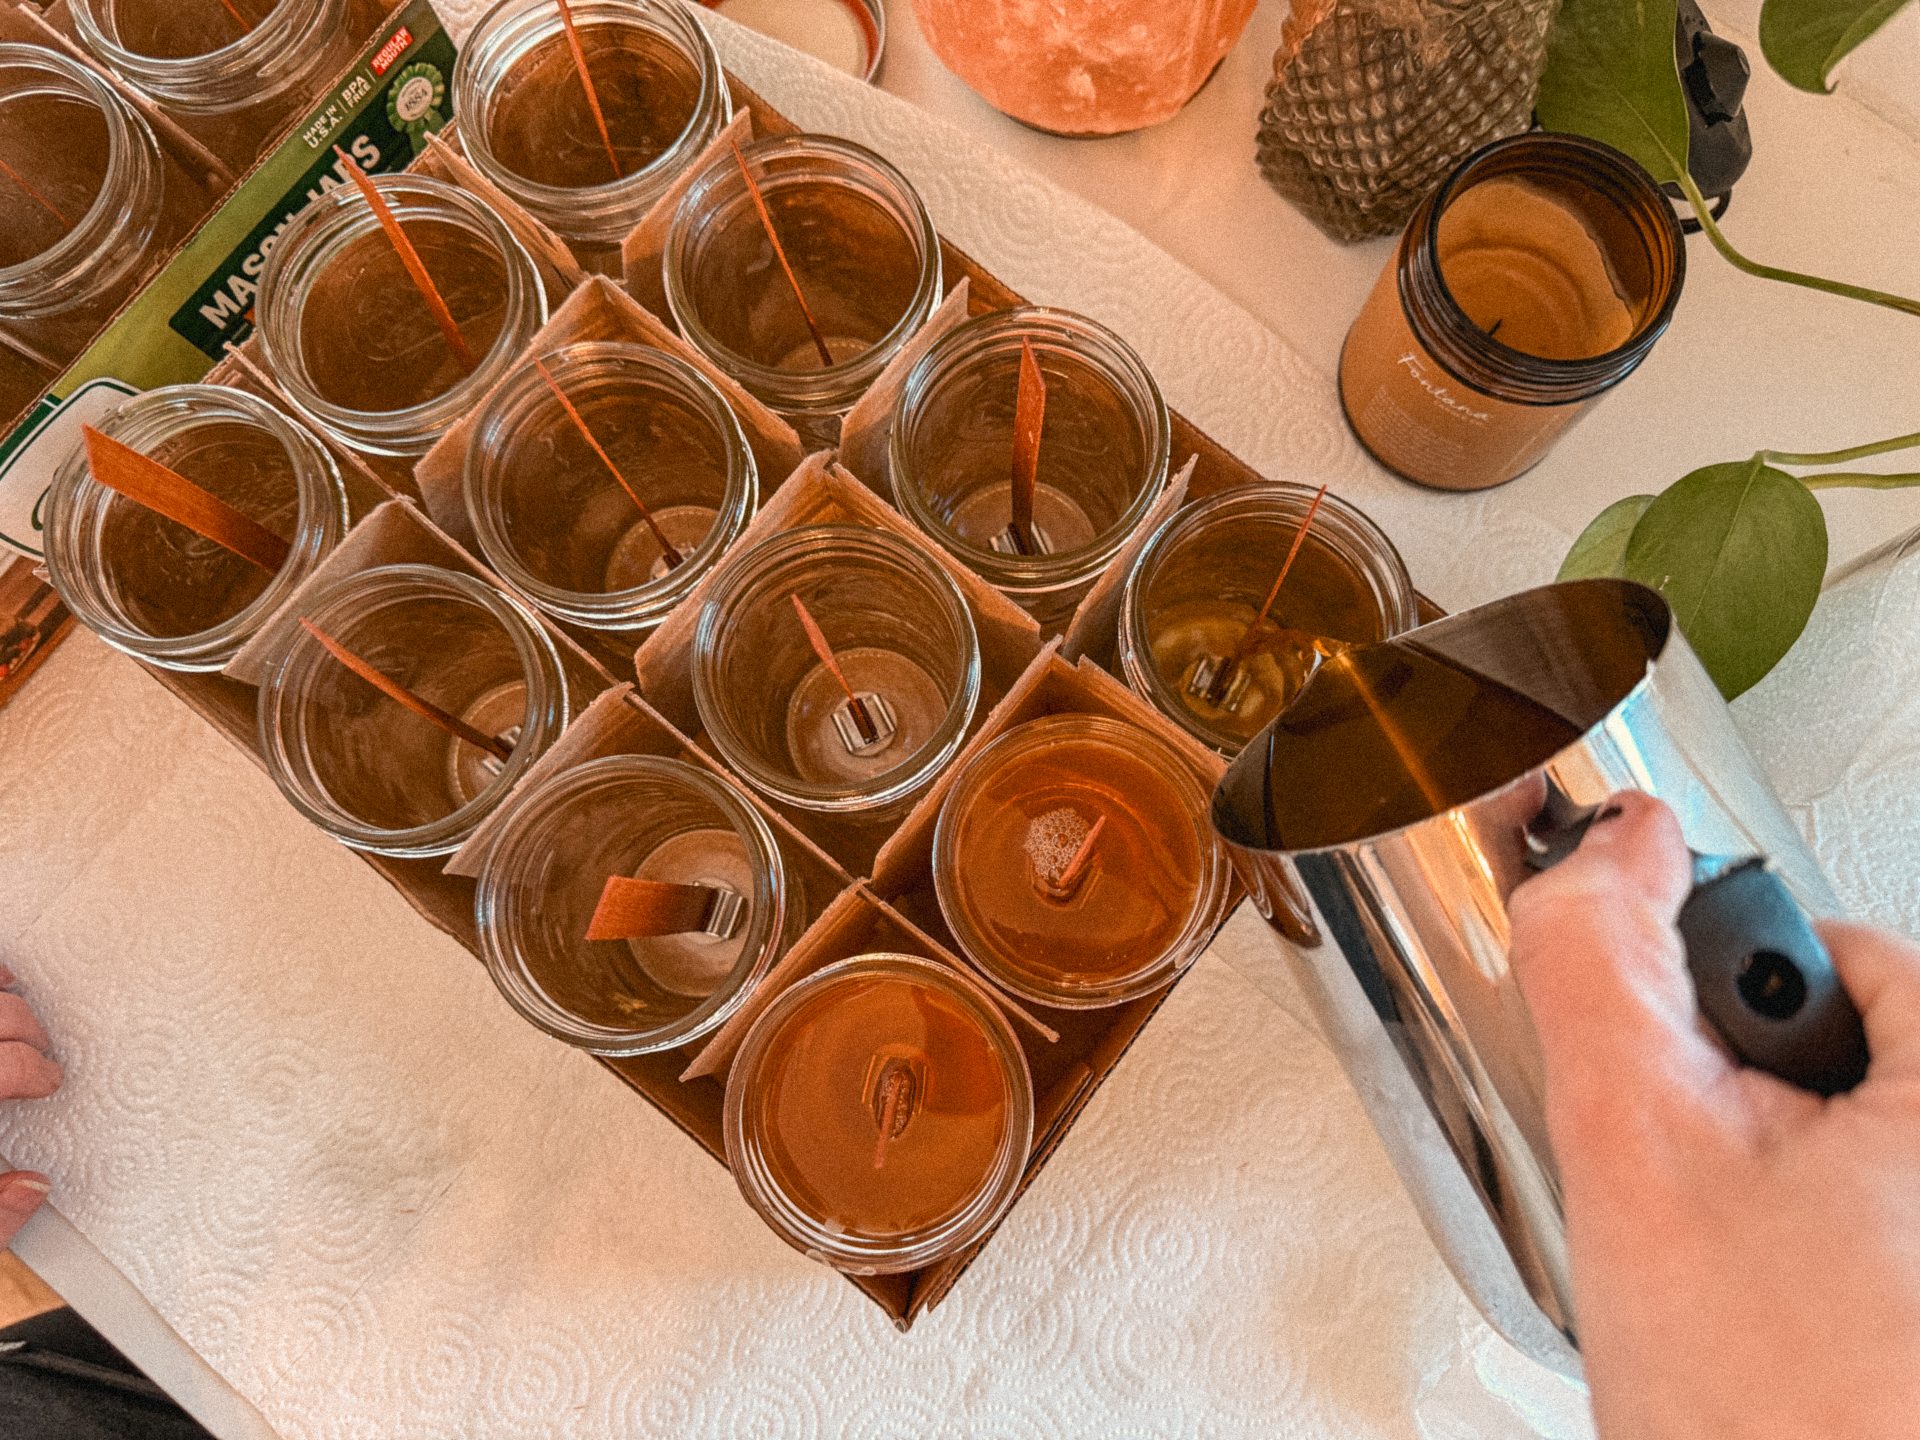
Pour the Wax: Carefully pour the wax into your prepared jars, leaving about 1/2 inch of space at the top. We used 8 ounce jars and filled them just about to the 6oz line! You want to make sure you pour them right around that 130°F mark so that your candles don't get white spots or cave in!
Let It Set: Allow the candles to cool and harden completely (2-4 hours). Trim the wick to about 1/4 inch before lighting. The first lighting can be a little crazy with the wick, but once it burns down a bit it should steady out the flame.
Note:
Some of you have mentioned your candles caved in after pouring, even when you poured at 130F. To prevent that, here are some tips:
Warm your jars - just a few minutes with hot water or a low-temp oven. Beeswax hates cold surfaces.
Switch to regular coconut oil (76°) - you’ll still get a smooth burn, but the candle will firm up properly. Fractionated can be too liquid for beeswax structure depending on other factors.
Cool them slowly - no fans, no open windows, no cold countertops. Even placing a towel over them helps dramatically.
Stir longer after adding oils - this reduces internal air pockets that can collapse later.
Customizations: Make It Your Own Scent Combinations
tap link to shop oils!
Vanilla Lavender
45 drops vanilla oil
45 drops lavender oil
Vanilla Peppermint
45 drops vanilla oil
45 drops peppermint oil
Citrus Clove
45 drops orange oil
25 drops clove oil
25 drops cinnamon or nutmeg oil
Lavender Peppermint
45 drops peppermint oil
45 drops lavender oil
Winter Spice
20 drops orange oil
20 drops clove oil
20 drops juniper berry oil
20 drops grapefruit oil
20 drops vanilla oil
Wood Wicks vs. Wax Wicks
Wood Wicks:
Pros: Create a cozy crackling sound and unique aesthetic. Burn slower, which can extend the life of your candle.
Cons: Can be trickier to light and maintain, especially if not trimmed properly.
Wax Wicks:
Pros: Easier to find and generally more reliable for beginners.
Cons: Lack the ambiance of a crackling sound and may burn faster.
If you’re after that signature crackle, go with wood wicks. But if you want something easy and fuss-free, wax wicks are a great option.
Wax Alternatives and Combinations
Beeswax: Beeswax is naturally lightly scented with honey, so it pairs beautifully with essential oils or even on its own for a subtle fragrance. It’s clean-burning, non-toxic, and emits negative ions that can help purify the air.
Soy Wax: Another popular clean-burning option that’s softer and blends well with essential oils. Soy wax is a great alternative if you’re looking for a vegan option.
Coconut Wax: This is one of the cleanest-burning waxes available. It’s softer than beeswax and has a creamy, luxurious texture, making it ideal for blending with beeswax.
Blend Options:
Beeswax + Soy Wax: A great mix for balancing the firmness of beeswax with the softness of soy wax.
Beeswax + Coconut Wax: Adds a creamy texture and smooth burn while maintaining a clean fragrance.
Making your own candles doesn’t just save money—it’s a creative and relaxing way to bring intentionality into your home. Plus, the possibilities for customizations are endless! Whether you prefer the gentle crackle of a wood wick or the classic simplicity of a wax wick, these candles will add a cozy, clean-burning glow to your space.
EDIT 11/12/25:
This recipe has gone viral! Adding this disclaimer with so many of you trying it out - I want you all to be safe!
This post is for informational and educational purposes only. Research your candle-making materials and test small batches before gifting or selling. For this beeswax recipe, add candle-suitable essential oils around 160–165°F and pour around 155–160°F, following your oil supplier’s instructions. Keep essential oils away from open flames and direct heat, and never add them to the surface of a finished candle. Never leave burning candles unattended, and keep them away from children, pets, and anything flammable. Please steward your home and your health wisely. 🤍
What scent combination will you try first? Let me know in the comments!